> ## Documentation Index
> Fetch the complete documentation index at: https://docs.ironclaw.com/llms.txt
> Use this file to discover all available pages before exploring further.
# Quickstart
> Create your first Agent in minutes
This guide will get you from zero to a running IronClaw instance in under 10 minutes
***
## Setting Up Your Agent
Go to [https://agent.near.ai/](https://agent.near.ai/) and login with your preferred method, then create an IronClaw agent in a private instance.
Once your private instance is ready, you can connect to your agent's private instance through `SSH` using the address provided in the [Agent Dashboard](https://agent.near.ai/):
```bash theme={null}
ssh -p liquid-horse@agent2.near.ai
```
To use IronClaw, you will need to provide an SSH key. If you don't have one, you can generate it using the following command in your terminal:
```bash theme={null}
ssh-keygen -t rsa -b 4096 -C "you@example.com"
cat ~/.ssh/id_rsa.pub
```
Remember to add your SSH key to your device's SSH agent before connecting:
```bash theme={null}
ssh-add ~/.ssh/id_rsa
```
Best for personal use on your own machine. Uses libSQL (embedded SQLite) — no separate database server required.
```bash theme={null}
# Install IronClaw
curl --proto '=https' --tlsv1.2 -LsSf https://github.com/nearai/ironclaw/releases/latest/download/ironclaw-installer.sh | sh
```
Start your agent for the first time:
```bash theme={null}
ironclaw
```
If you get the error `Error: Another IronClaw instance is already running (PID 38). If this is incorrect, remove the stale PID file: /home/agent/.ironclaw/ironclaw.pid`, simply run the following command to remove the stale PID file and try starting the agent again:
```
# Remove the stale PID file
rm /home/agent/.ironclaw/ironclaw.pid
# Then start the agent again
ironclaw
```
Since this is the first time you are starting your agent, it will ask you to configure your inference provider, and the LLM you want to use.
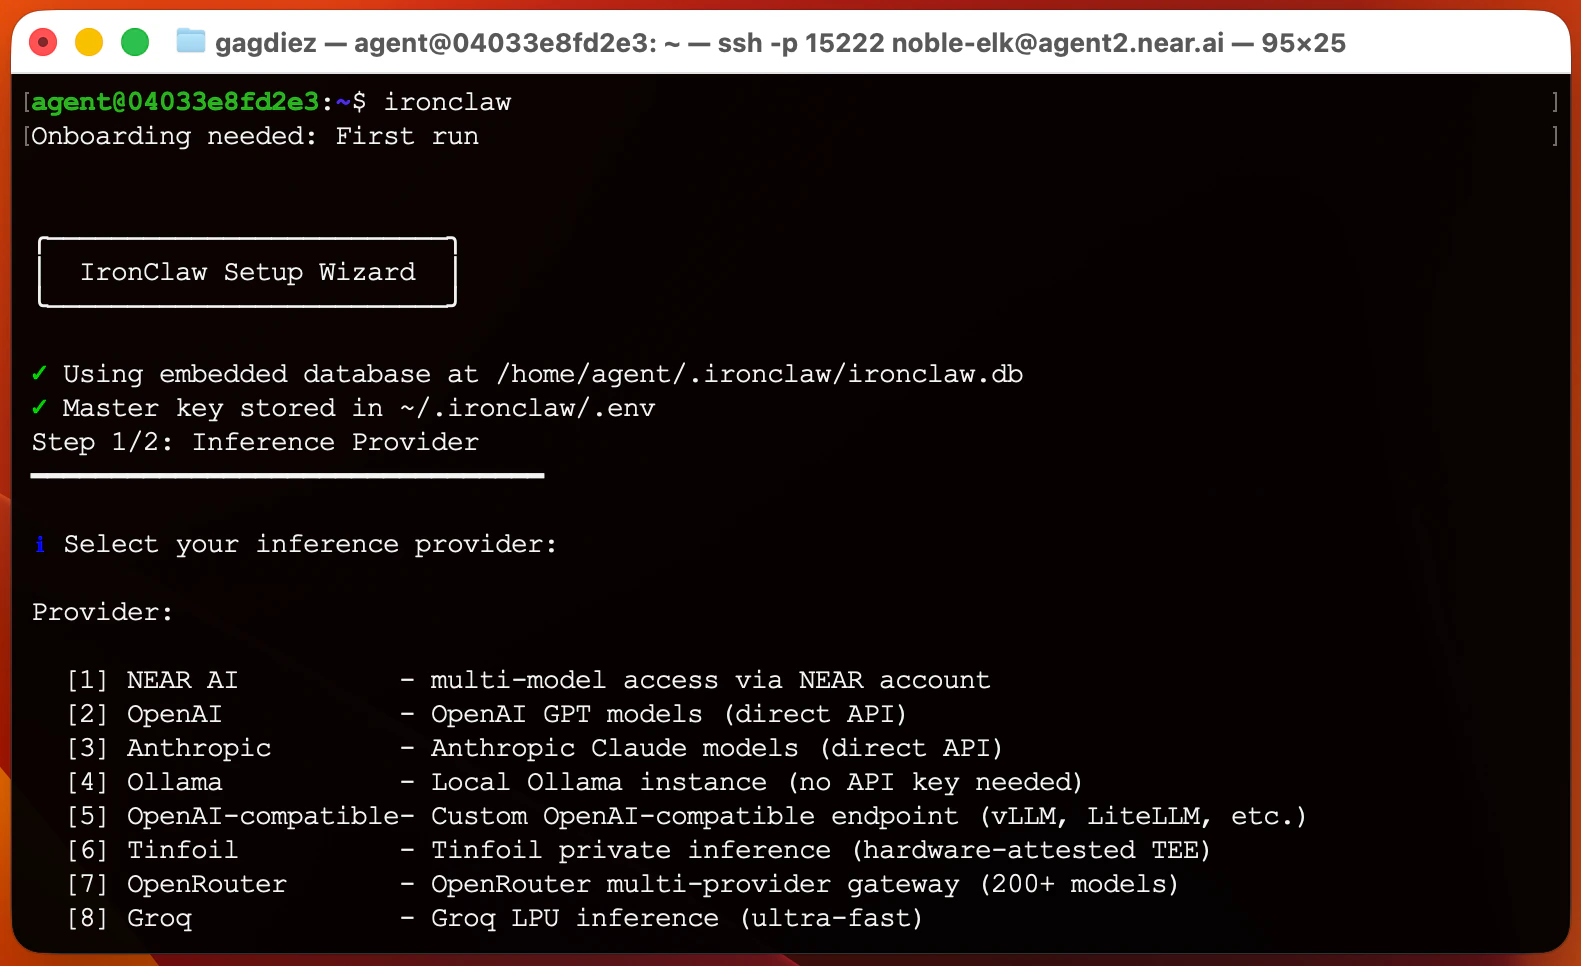 We recommend using [NEAR AI](https://cloud.near.ai/) as your inference provider for maximum privacy and security, and the `Qwen3-30B` model for its cost-effectiveness
If you encounter the error `Error: Channel webhook_server failed to start: Failed to bind to 0.0.0.0:8080: Address already in use (os error 98)`, simply try setting a different HTTP port:
```
# Change the default HTTP port to 8081
export HTTP_PORT=8081
# Then start the agent again
ironclaw
```
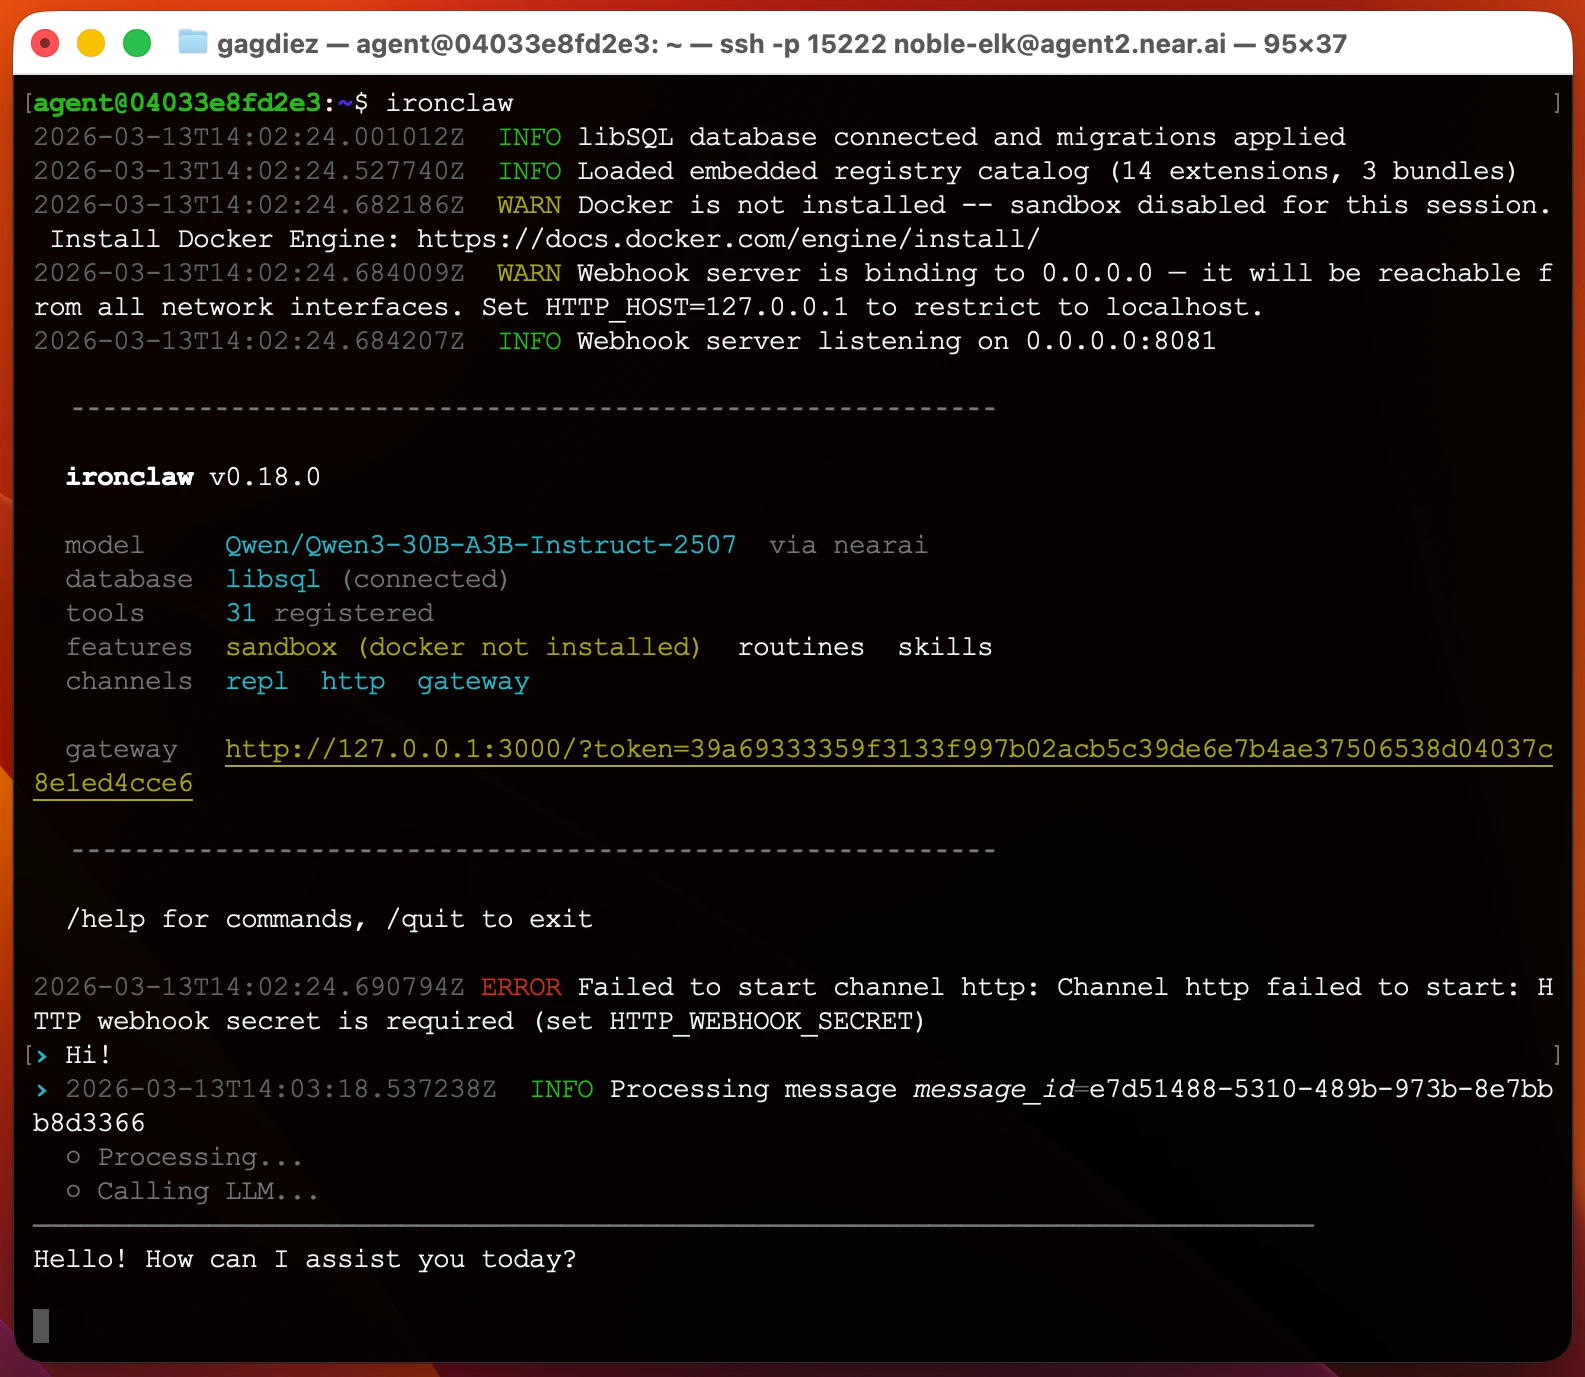
Once your agent is up and running, you can start interacting with it through the terminal, simply type your message and the agent will respond
We recommend using [NEAR AI](https://cloud.near.ai/) as your inference provider for maximum privacy and security, and the `Qwen3-30B` model for its cost-effectiveness
If you encounter the error `Error: Channel webhook_server failed to start: Failed to bind to 0.0.0.0:8080: Address already in use (os error 98)`, simply try setting a different HTTP port:
```
# Change the default HTTP port to 8081
export HTTP_PORT=8081
# Then start the agent again
ironclaw
```
Once your agent is up and running, you can start interacting with it through the terminal, simply type your message and the agent will respond
 Finally, make sure to regularly update IronClaw to get the latest features and improvements. You can update IronClaw by running the following command in your terminal:
```bash theme={null}
ironclaw-update
```
***
## Next Steps
Now that you have your agent up and running, it is time to configure a new [channel](./channels/telegram) to interact with your agent from your preferred messaging platform, and add some [tools](/extensions/web-search) to give your agent more capabilities.
Connect your agent to your favorite messaging platform.
Give your agent access to external APIs and services.
Finally, make sure to regularly update IronClaw to get the latest features and improvements. You can update IronClaw by running the following command in your terminal:
```bash theme={null}
ironclaw-update
```
***
## Next Steps
Now that you have your agent up and running, it is time to configure a new [channel](./channels/telegram) to interact with your agent from your preferred messaging platform, and add some [tools](/extensions/web-search) to give your agent more capabilities.
Connect your agent to your favorite messaging platform.
Give your agent access to external APIs and services.